
It’s that time of year for making memories and spending time with the ones you love. For us, that means a little ‘beach baking’ in the oven of course!
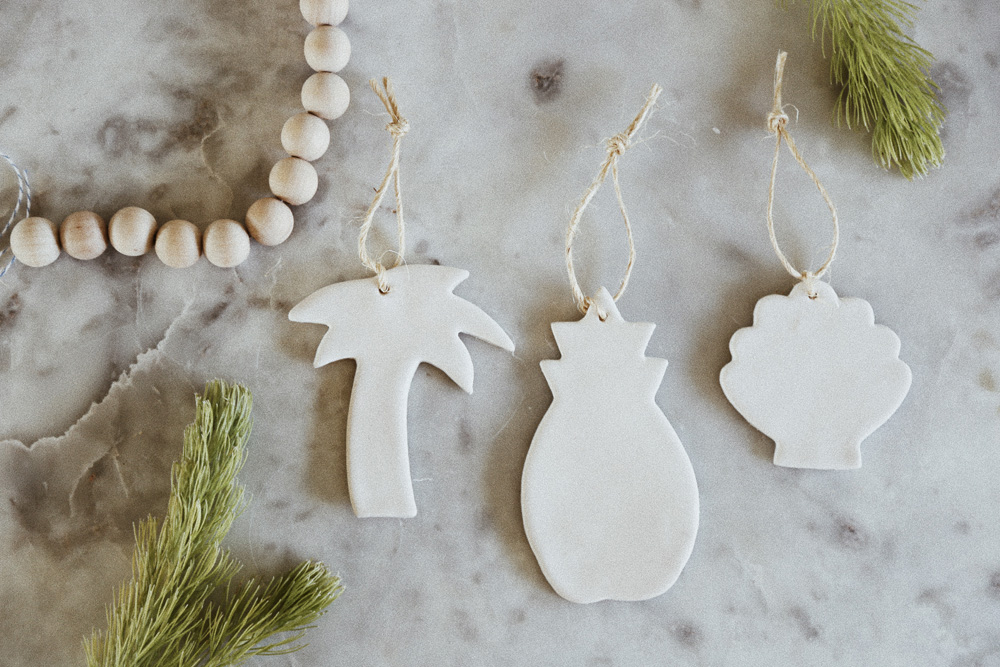
So, this year we’re trading in our tinsel for a modern take on ornaments inspired by our other home away from home, the beach. As we pack our bikinis and bags for the North Shore to celebrate at the PipeMasters we’ll be decking our tree (or palm tree perhaps) with some easy-to-make ornament even the least crafty can enjoy!
Enjoy the DIY below, and don’t forget to check off that ‘Just Beachy’ friend or loved one on your gifting list. Shop our gift guide here.

What you’ll need:
- Oven Bake Clay – we picked white because it’s bright and festive
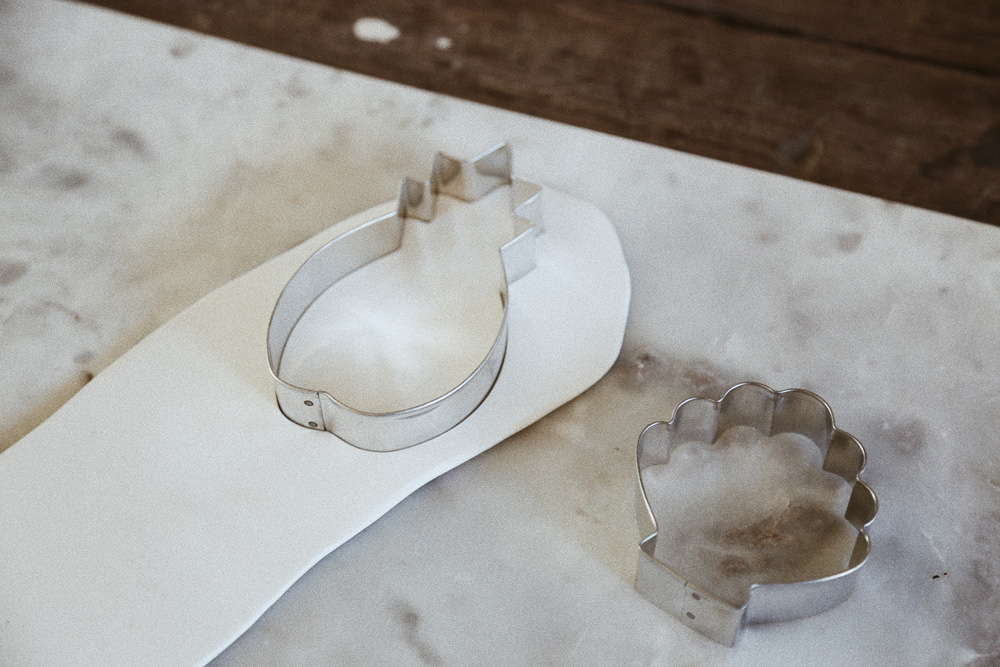
- Cookies cutters – limitless possibilities here, but grab something you’ll want to use time and again
- A Small skewer to create a hole for the top of your ornament
- Just String
- A oven for baking
- A rolling pin and flat surface
Start by rolling your clay flat.
After you’ve create a smooth, even surface (try for about ¼ thick), use your varying cutters to create your ornament shapes.
After you’ve securely cut through the clay, gently detach the excess clay from the outside.
We baked our on a pan covered with tin foil at 275 degrees. Depending on how many you bake at a time will depend on how quickly your items are baked. Ours took around one hour to bake about 5. You want to make sure you do not under bake as they will be brittle and crack.
Enjoy!